|
|
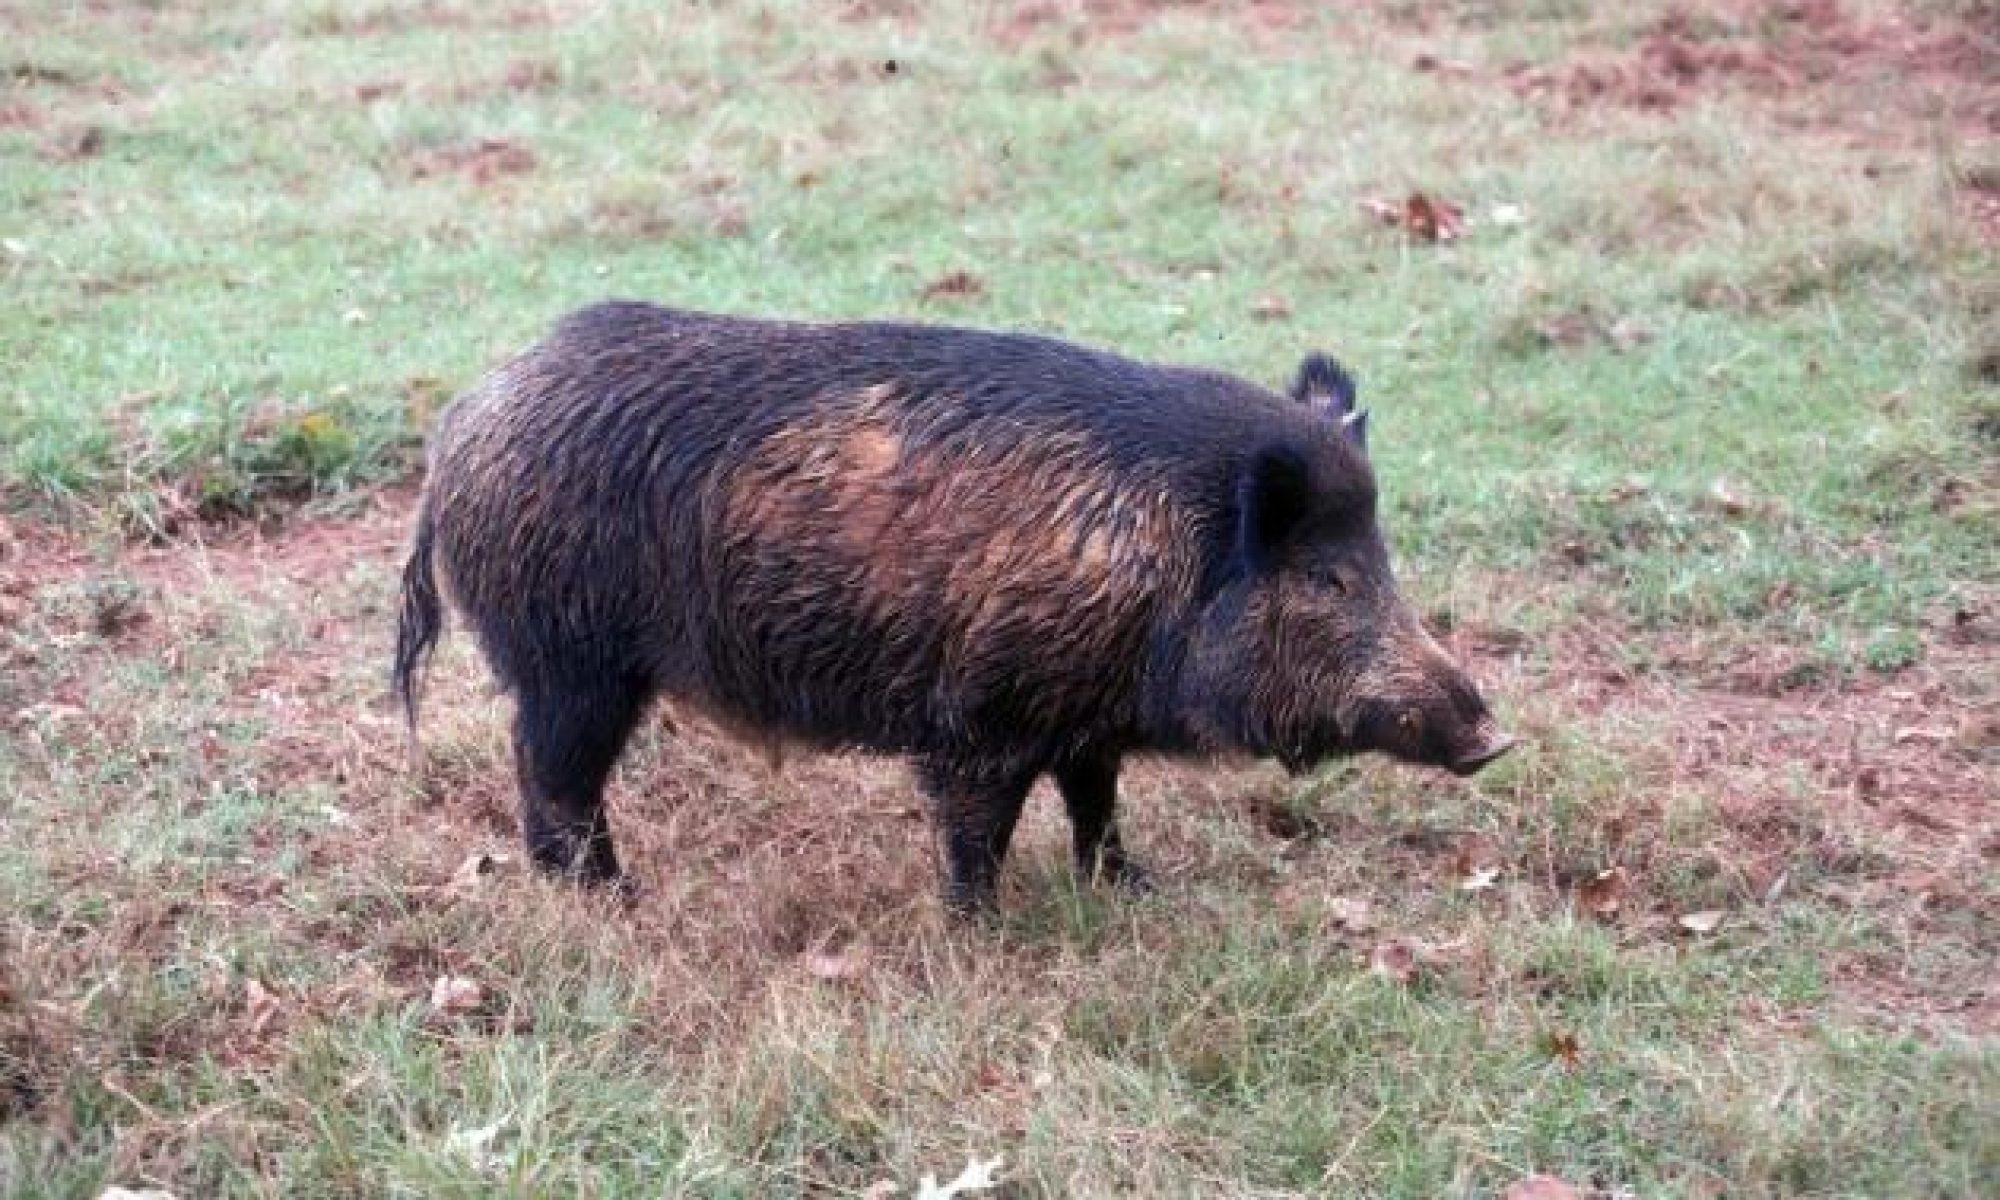
| Photo courtesy Jared Timmons, Texas AgriLife Extension |
Rooter/lifter gates are top choices among feral hog trappers because they allow additional capture after the initial gate closure. The rooter/lifter gate can be changed so that it initially operates as a drop gate. Because rooter/lifter gate designs differ greatly in design, shape, and size, modifications will also vary, but the adjustments described by Dan McMurtry of the Animal and Plant Health Inspection Service of the U.S. Department of Agriculture (USDAAPHIS) and explained below should apply to most situations.
Materials required to modify a rooter/lifter door:
- Flat iron or angle iron
- A welding machine
- A drill
- 1/4 – or 3⁄8 – inch bit
- 1/4 – inch bolts
- Nuts
- Door hinges
- C-clamps
- Rope or chain
Steps for Altering a Rooter/Lifter Gate
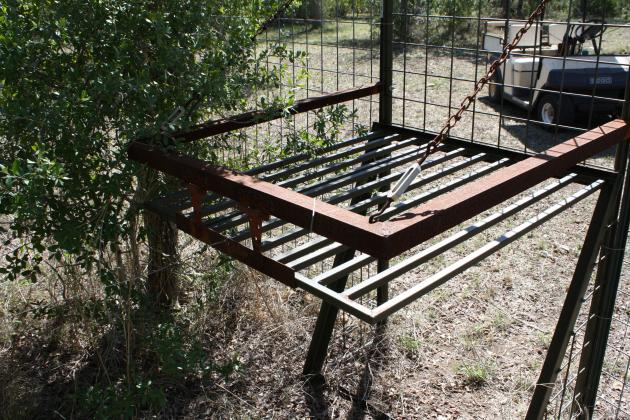
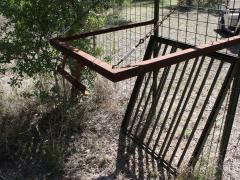
1. Measure the width of the trap gate and the length of the rooter panels. These dimensions form the bracket that will hold the panels open. The bracket in Fig. 1 was made of angle iron.
|
|
| Figure 1. Photo courtesy of Texas AgriLife Extension |

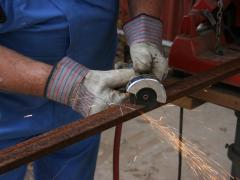
2. Cut the angle iron in two locations so that it can be bent to form 90-degree angles (Figs. 2,3,4). The exact measurements and cut lengths of the iron will depend on the size of the rooter gate.
|
|
| Figure 2. Photo courtesy of Texas AgriLife Extension |
|
|
| Figure 3. Photo courtesy of Texas AgriLife Extension |

|
|
| Figure 4. Photo courtesy of Texas AgriLife Extension |

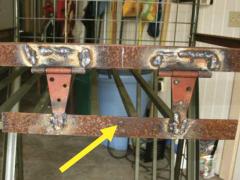
3. Attach at least two hinges to the bracket. The number of hinges will depend on the size of the trap gate, with more hinges needed to secure larger gates.
4. Center the hinge(s) on the bracket and attach with C-clamps (Fig. 5).
|
|
| Figure 5. Photo courtesy of Texas AgriLife Extension |

5. Tack-weld the hinges into place. This step ensures that the hinges will swing freely.
6. After final welding, attach a small piece of angle iron to the other end of the hinges (Fig. 6). This will serve as part of the trigger mechanism. Again, it is important to tack weld this piece to ensure that the hinges swing freely.
|
|
| Figure 6. Photo courtesy of Texas AgriLife Extension |

7. Using a drill equipped with a 1/4- or 3⁄8-inch metal bit, drill a hole in the center of the angle iron (Fig. 7). This hole will be used to attach a wire to the trigger mechanism. The hole can be equipped with an eyebolt if desired.
|
|
| Figure 7. Photo courtesy of Texas AgriLife Extension |
8. Measure the gate frame to make sure that rooter panels do not hang too low. The bracket must be attached to the frame at the proper height because the feral hogs need to pass freely through the gate and under the rooter panels without setting off the the trigger with the tops of their backs. The frame of these trap gates usually are made of 1- to 1 1/4-inch steel pipe, so take measurements to ensure a proper cut. If the rooter panels hang too low, a large hog entering the enclosure may trip the trap prematurely.
9. Cut the bracket to fit the rooter gate frame.
10. Attach the bracket to the rooter gate frame using nuts, bolts, and washers (Fig. 8).
 
|
| Figure 8. Photo courtesy Jared Timmons, Texas AgriLife Extension |
11. Once the bracket is attached, support it with rope or chain (Fig. 9). This design can be built quickly with little effort, and it can easily be removed, if desired.
|
|
| Figure 9. Photo courtesy Jared Timmons, Texas AgriLife Extension |

|
|
| Figure 10. Photo courtesy Jared Timmons, Texas AgriLife Extension |
Other Gate Modifications
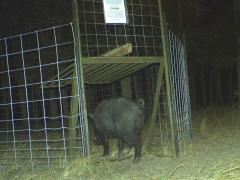
Those without access to shop tools, such as a welding machine or cutting torch, can still make modifications to gain similar results. One such design can be made with a 4-inch hook and eye latch and a 4-ft-long 2-by-4 board. Simply attach the hook and eye latch set to the end of the 2-by-4 (Figs. 11 & 12). Then mount the 2-by-4 to the top of the rooter gate by placing it through one of the squares on the panel. This modification allows large boars and sows to enter the trap easily (Fig. 13)
|
|
| Figure 11. Photo courtesy of Texas AgriLife Extension |

|
|
| Figure 12. Photo courtesy of Texas AgriLife Extension |

|
|
| Figure 13. Photo courtesy of Texas AgriLife Extension |
There are some drawbacks to consider:
• Traps must be tied open and pre-baited for multiple days to train hogs to enter the trap.
• Once set, hogs must push their way into it by lifting the gate. Some feral hogs may be too small to lift the gate. Older trap-shy hogs are often reluctant to enter through this type of gate.
Acknowledgements
Thanks to Oscar Fogle for construction of this door modification.